
How to use Slicer’s segment editor to clean noise from a dataset:
Scripts required: None, just SegmentEditorExtraEffects plugin for 3D Slicer
VIMEO link: https://vimeo.com/730084787/2140378a76
Step by step (preparation):

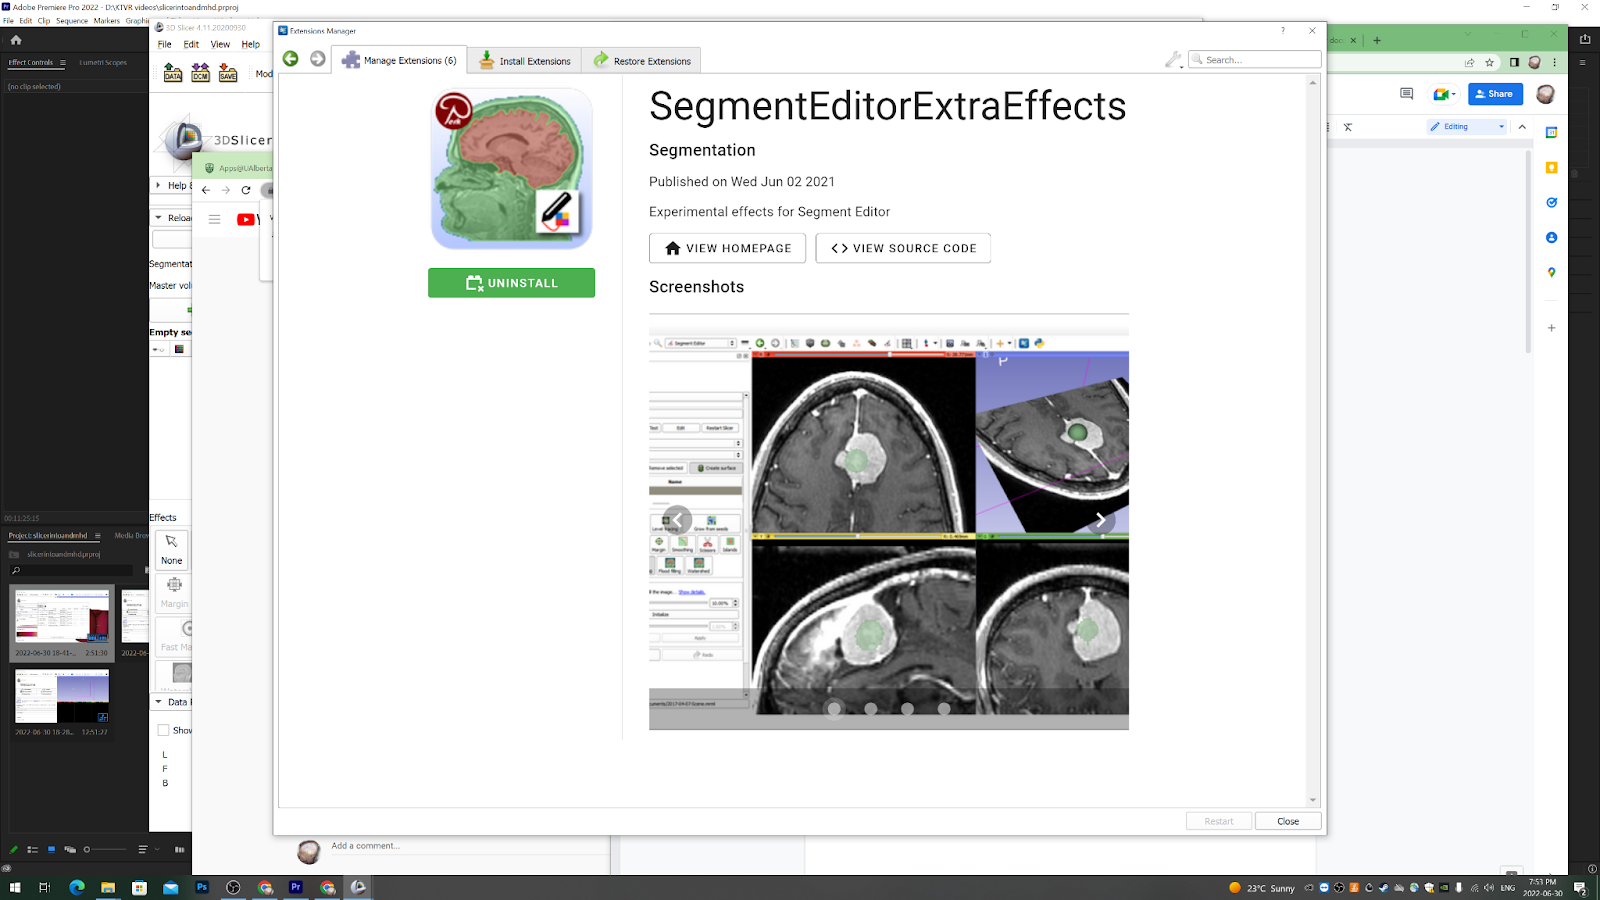
- Install the SegmentEditorExtraEffects plugin via the Extensions Manager.
- Import the data you want to clean into 3D Slicer, either by clicking the DICOM (or DCM) icon to the left of the toolbar (fig. 1) or drag and drop the data into the 3D Slicer window. Loading the data might take several seconds.
- Ensure that Volume Rendering is selected in Modules drop down menu (fig. 2).
- In the menu on the right-hand side, click Select a Volume, then click the eye icon to the right of the Volume to toggle visibility (fig. 3).
- Still in the menu on the right, under Display, click Select a preset until your data is visible.
Step by step (cleaning the dataset):
- In the right-hand side menu, click Advanced… to open more options (fig. 4).
- Click the Segment Editor button (fig. 5) on the top toolbar.
- Check that the dataset’s master volume is correct.
- Click the Add button (green +) in the right-side menu (fig. 6) to add a segment.
- Select the Scissors icon (fig. 7) in the Effects section of the right-side menu.
- In the Scissors menu, below Effects, make sure Fill outside is selected.
- Next, trace around the part of the dataset you’d like to remove (fig. 8).
- Click Mask volume in the Effects window. In the Mask volume menu, click the Input Volume field, then the Output Volume field. Hit Apply. (fig. 9).
- Then, with Volume Rendering selected in the Module dropdown menu, and the appropriate preset selected in the Display menu, click the dataset, Volume, the dataset, and then the eye icon to make it visible.
- Clicking the Preset field under Display again should reveal the cleaned dataset.
- Repeat steps 9 to 15 as needed until the dataset looks as desired.
- The Save button is located in the top left corner near the DCM button (fig. 10).
- When you save, be aware of what you are saving, the.mrml is the project file, the cleaned volume/dataset is going to be the new Volume you have created (which to work with in Unity you have to export as an MHD & raw file).
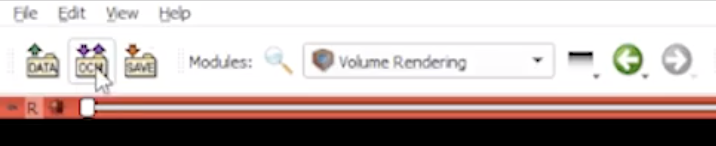
Fig. 1
DICOM, or DCM button on left side of top toolbar

Fig. 2
Switch from the DICOM to Volume Rendering Module
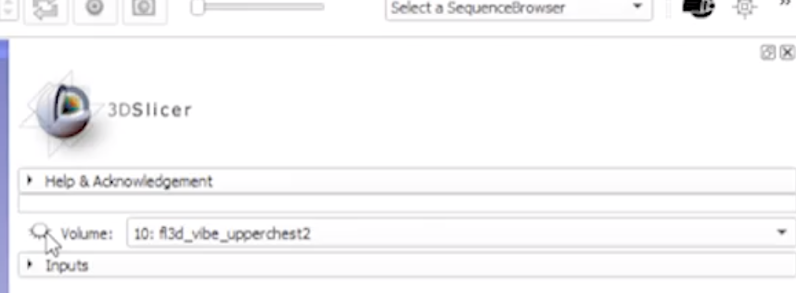
Fig. 3
Eye icon for toggling visibility (found in menu on right side)

Fig. 4
Open Advanced options
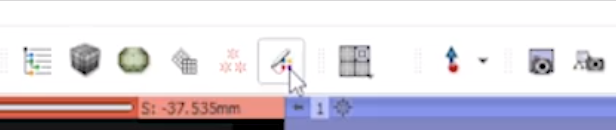
Fig. 5
Segment Editor button
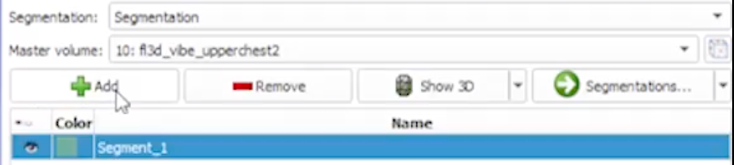
Fig. 6
Add segment button
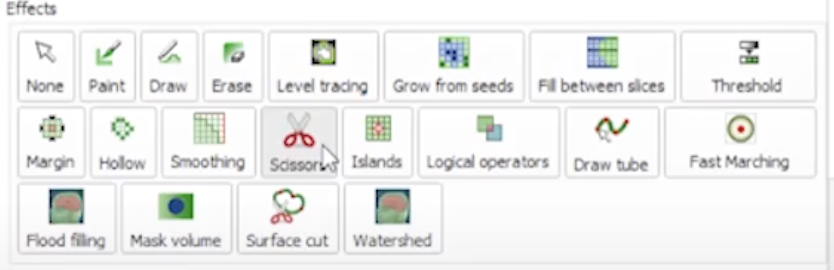
Fig. 7
Select the Scissors tool
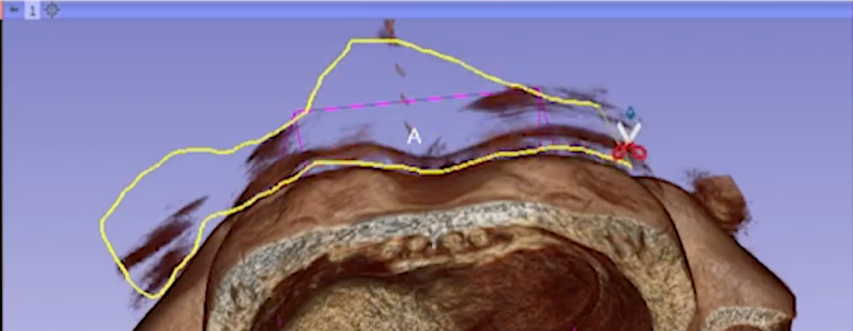
Fig. 8
Tracing around the area to be cleaned up
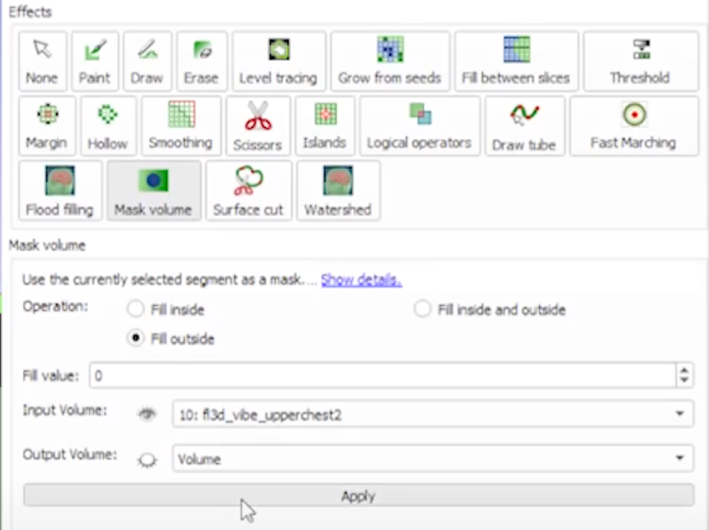
Fig. 9
Mask volume menu, click the Input and Output Volume fields, then Apply
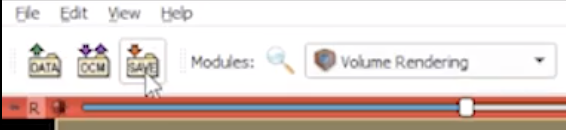
Fig. 10
Don’t forget to save!