
Learn how to start your own VR project in Unity including controls and sound, and how to import DICOM data as an .mhd file and attach it to a game object.
Scripts required: GenericLoader (link these)
Note:
- Scale and transformation are specific to this project and might vary for others.
- All scripts, shaders, audio, and color functions mentioned here should be preloaded in the project’s scripts folder.
- This project was developed in Unity3D version 2019.3.4. Setup may be different in different versions of the program.
Step by step (initial setup):
- Download and install the Oculus Integration package from the asset store.
- Ensure you have at least one 3D dataset on your computer, as well as at least one color transform.
- Create a new scene in Unity. You can delete the main camera in the project hierarchy, since the VR cameras will be used.
- Search for the OVRPlayerController in the project assets. Click and drag it to the project hierarchy.
- Find the LocalAvatar in project assets (comes with Oculus Integration package). Click and drag it to the project assets as a child of the TrackingSpace (fig. 1).
- In the right-click menu, go to 3D Object and select a cube to add to the scene (this object will hold the 3D dataset when we import it).
- Go to prefabs in the assets folder and click create, then select material (fig. 2).
- Select the material and change the shader in the inspector window as desired.
- Drag and drop the material onto the cube in the project hierarchy to apply.
Step by step (using the GenericLoader script):
- Find the GenericLoader script in the assets folder. Click and drag it to the cube. (Loader script allows import of DICOM data into Unity by adding .mhd files and attaching them to a game object. Every dataset has its own loader script, for instance; Loaderbrain.)
- Open the options menu in the GenericLoader script window and click edit script (fig. 3) to open the script in an editing program. (Every loader script has a few changes: .mhd header name, color transform function, dimensions and .mhd file name. Changes can be done for all datasets, as seen in fig. 4).
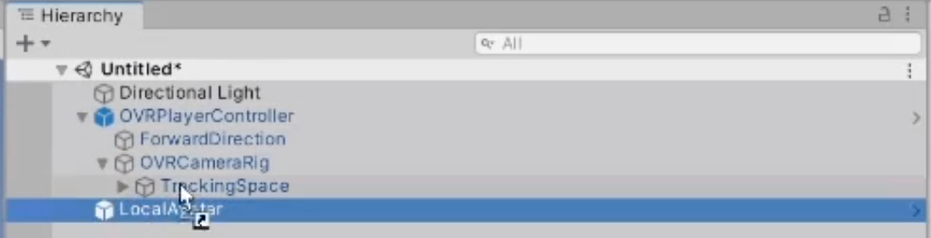
Fig. 1
Drag the LocalAvatar and drop it into the tracking space in the project hierarchy
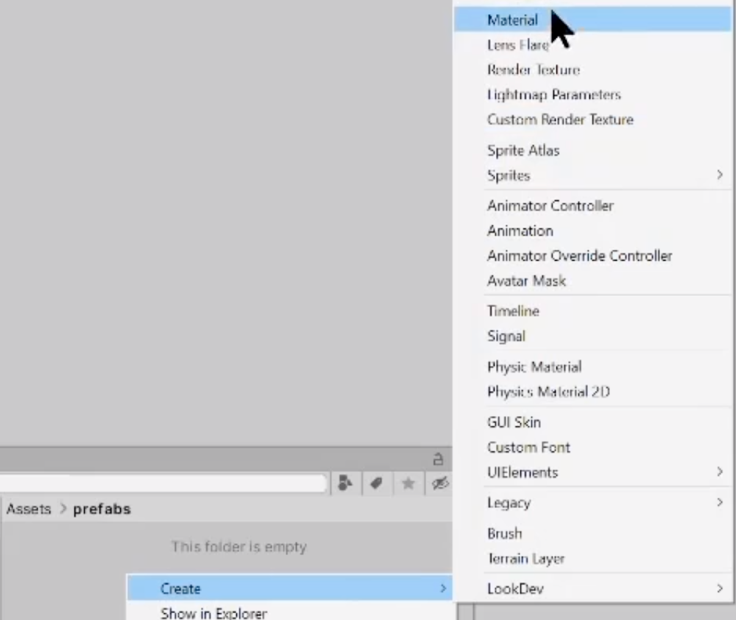
Fig. 2
Create a material from the prefabs in the assets folder
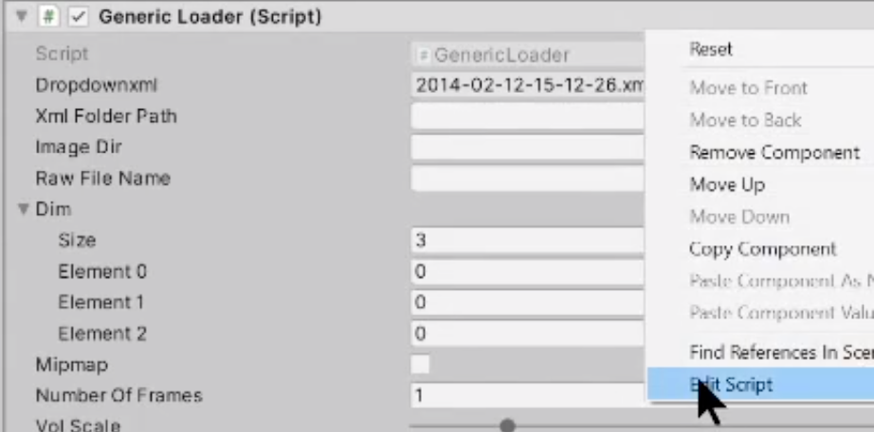
Fig. 3
The edit script option can be found in the Generic Loader menu
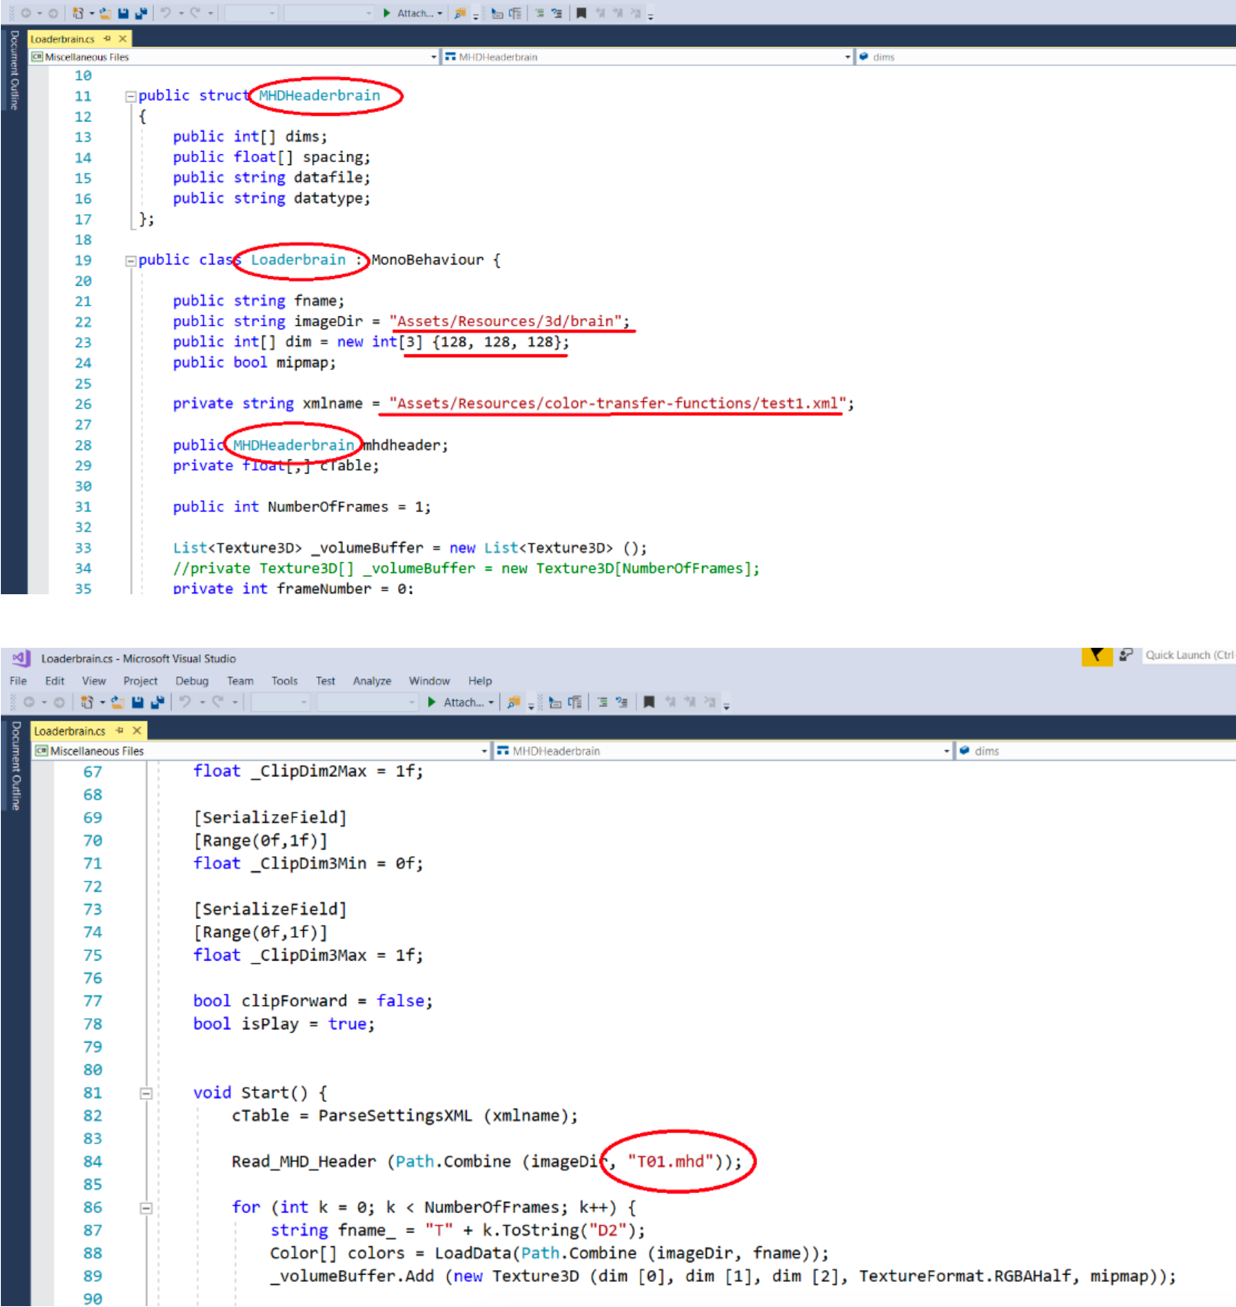
Fig. 4
As seen in Visual Studio, changes can be made for all datasets
Note:
- Don’t forget to save your project often, just in case.
- There are a number of code editors available such as MS Visual Studio and Notepad++, feel free to use whichever you are most comfortable with.